Managing Appointments
Once appointments are created, you can manage them directly from the calendar. This includes editing details, changing the status, rescheduling by drag-and-drop, cancelling, and deleting.
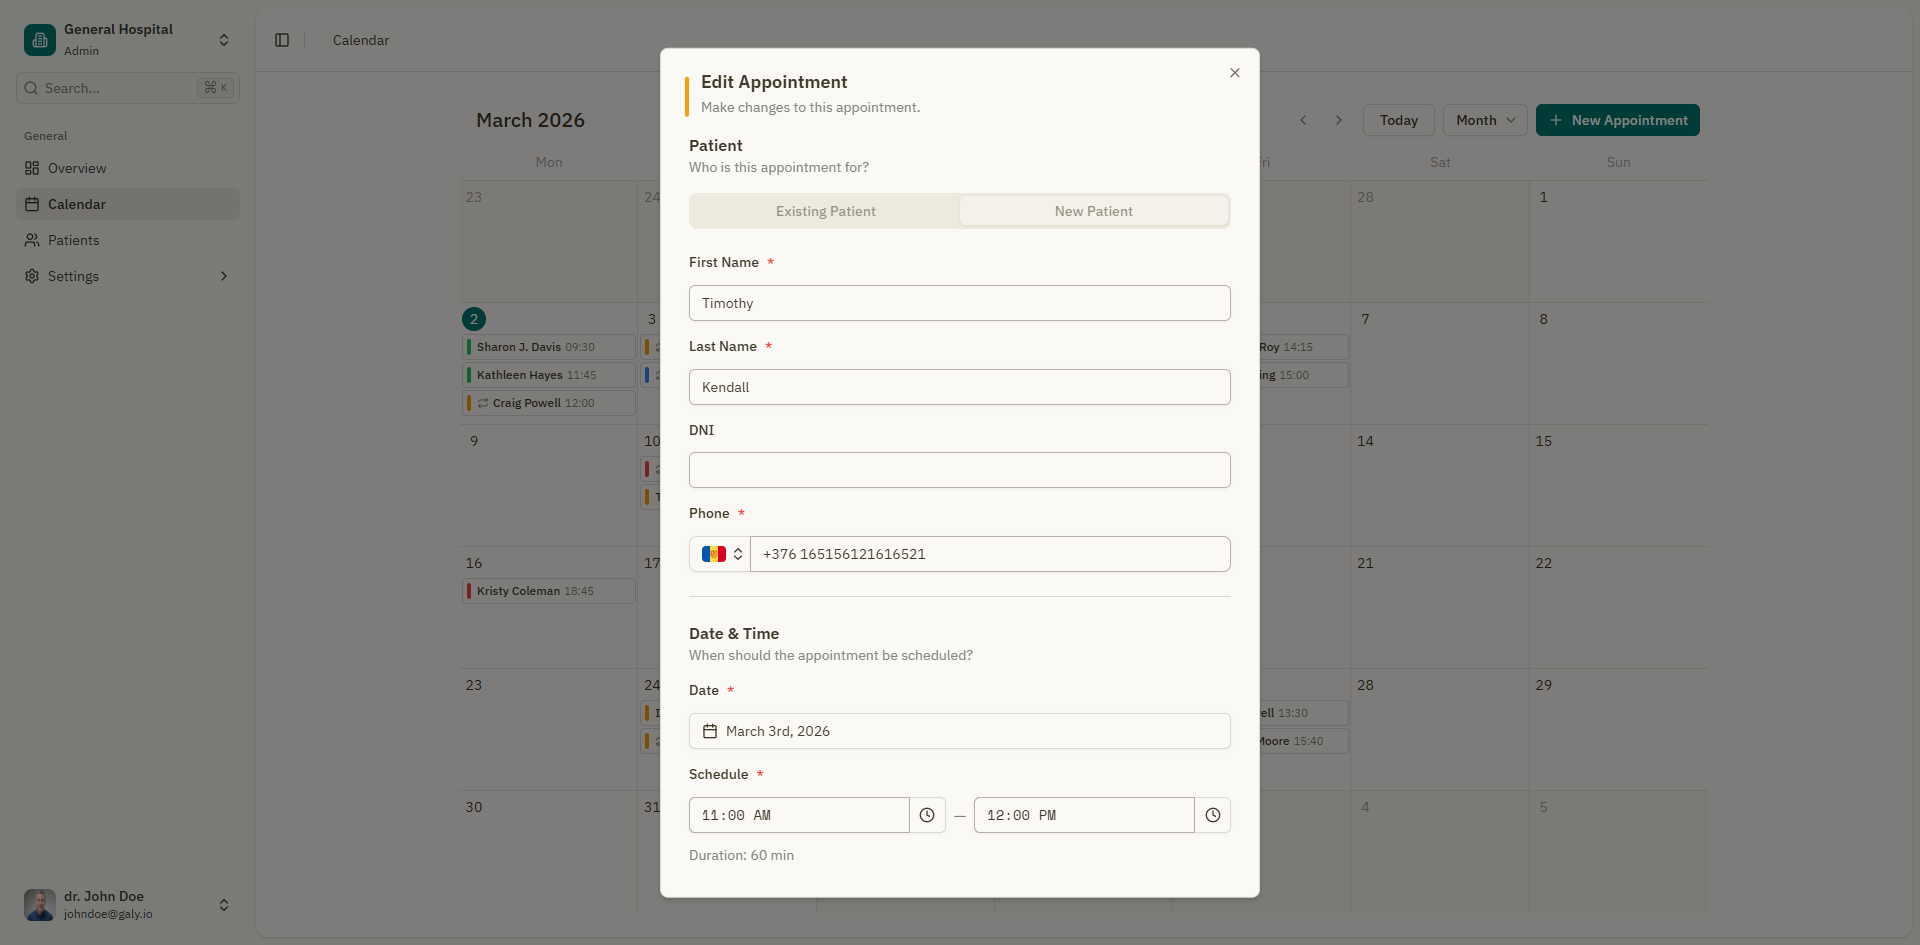
Editing an appointment
- Right-click on the appointment in the calendar (or long-press on mobile).
- Select "Edit" from the context menu.
- The appointment form opens with all current details pre-filled.
- Make your changes and click "Update Appointment".
You can edit the following:
- Patient (change the assigned patient)
- Date and time
- Reason for the visit
- Recurring appointment settings
- Appointment type (in-person or video conference)
Changing appointment status
Appointments follow a status workflow. You can change the status from the calendar:
- Right-click on the appointment.
- Select "Change Status".
- Choose the new status from the list.
Status transitions
| From | Allowed transitions |
|---|---|
| Pending | Confirmed, Attended, Cancelled |
| Confirmed | Pending, Attended, Cancelled |
| Attended | Pending, Confirmed |
| Cancelled | Pending, Confirmed |
A notification confirms the status change (e.g., "Status changed to Confirmed").
Attending a patient
To quickly mark an appointment as attended and open the patient's consultation:
- Right-click on the appointment.
- Select "Attend Patient".
This changes the appointment status to Attended and takes you to the consultation editor, where you can document the visit.
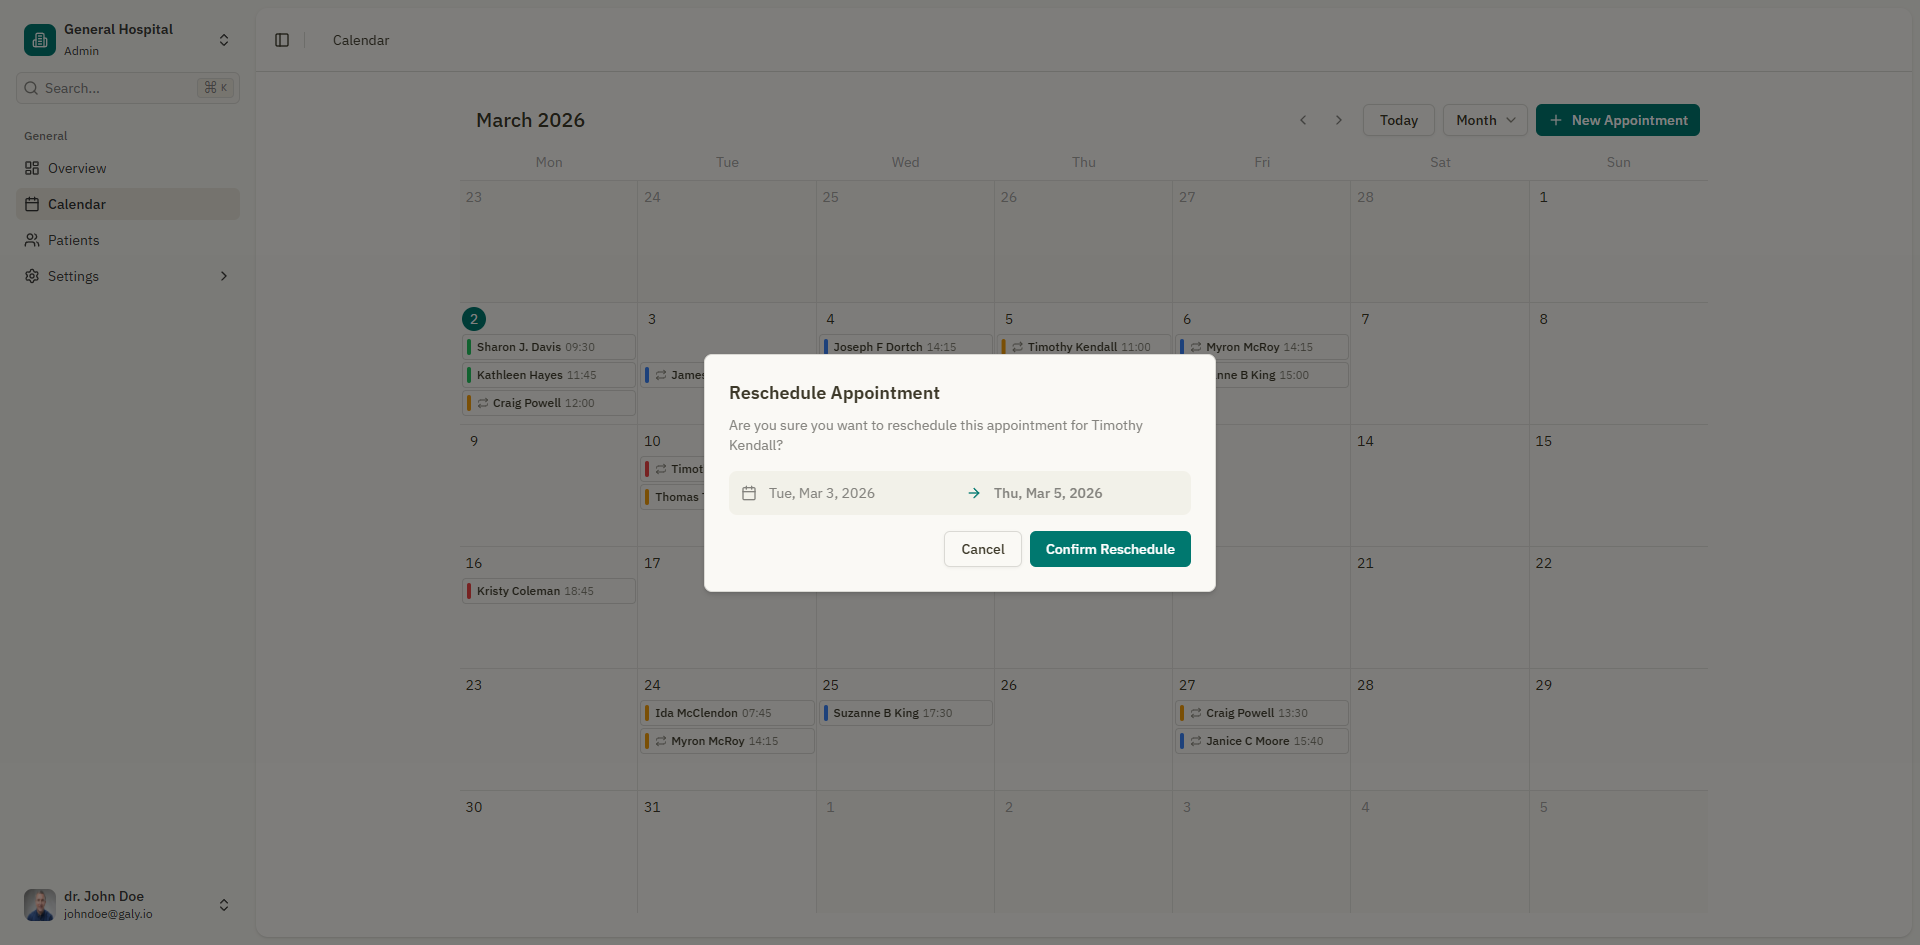
Rescheduling by drag-and-drop
In month, week, or day views, you can reschedule appointments by dragging them:
- Click and hold the appointment.
- Drag it to the new date or time slot.
- A confirmation dialog appears: "Are you sure you want to reschedule this appointment for [patient name]?"
- Click "Confirm Reschedule" to save, or "Cancel" to revert.
In week and day views, you can also drag the bottom edge of an appointment to change its duration.
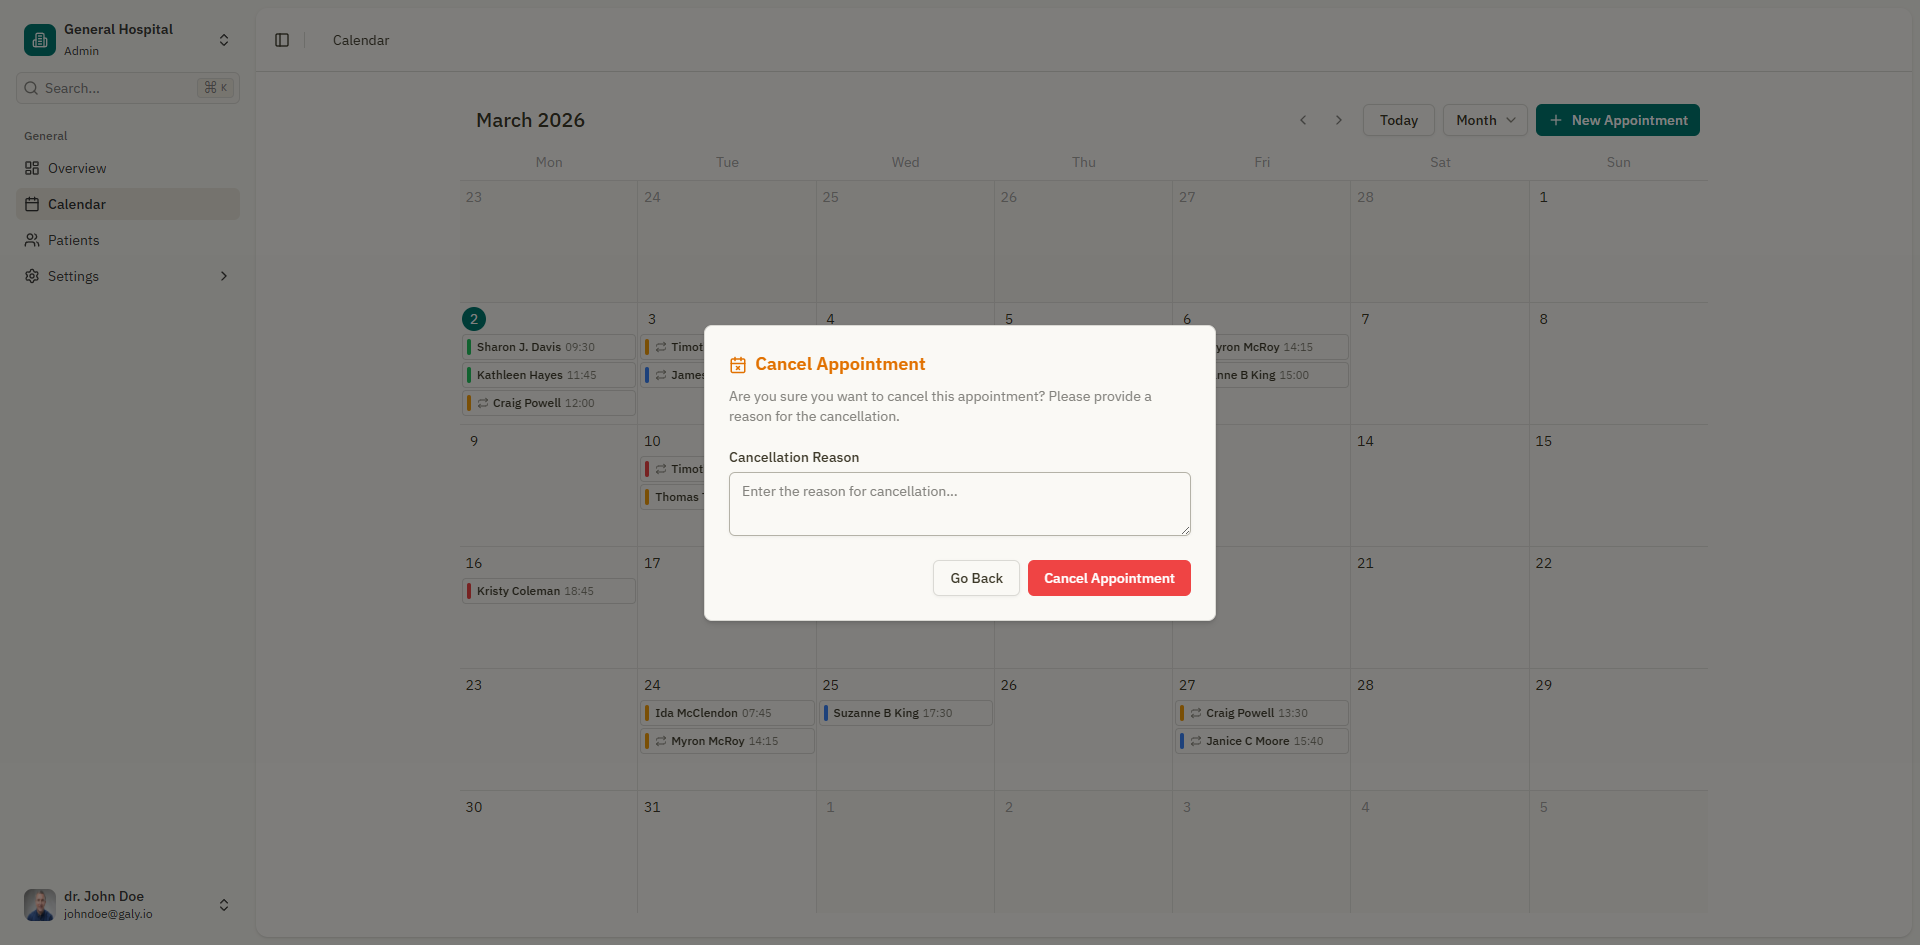
Cancelling an appointment
When you cancel an appointment, you are asked to provide a reason:
- Right-click on the appointment.
- Select "Change Status" > "Cancelled".
- A dialog appears asking for a cancellation reason.
- Enter the reason (e.g., "Patient requested to reschedule").
- Click "Cancel Appointment" to confirm.
The appointment remains visible on the calendar (with a Cancelled status) unless you've hidden cancelled appointments in calendar preferences.
Deleting an appointment
Deleting permanently removes the appointment:
- Right-click on the appointment.
- Select "Delete".
- A confirmation dialog appears: "Are you sure you want to delete this appointment?"
- Click "Delete Appointment" to confirm.
Deleting an appointment is permanent and cannot be undone. If you want to keep a record of the appointment, consider cancelling it instead.
Deleting a recurring series
If the appointment is part of a recurring series, you'll also see the option "Delete Series", which removes all future appointments in the series.
Viewing appointment details
To view the full details of an appointment including the consultation notes, prescriptions, and attachments:
- Click on the appointment in the calendar.
- You'll be taken to the appointment details page with three tabs:
- Consultation — The rich text editor for medical notes
- Prescriptions — Manage prescriptions for this visit
- Attachments — Upload and manage files