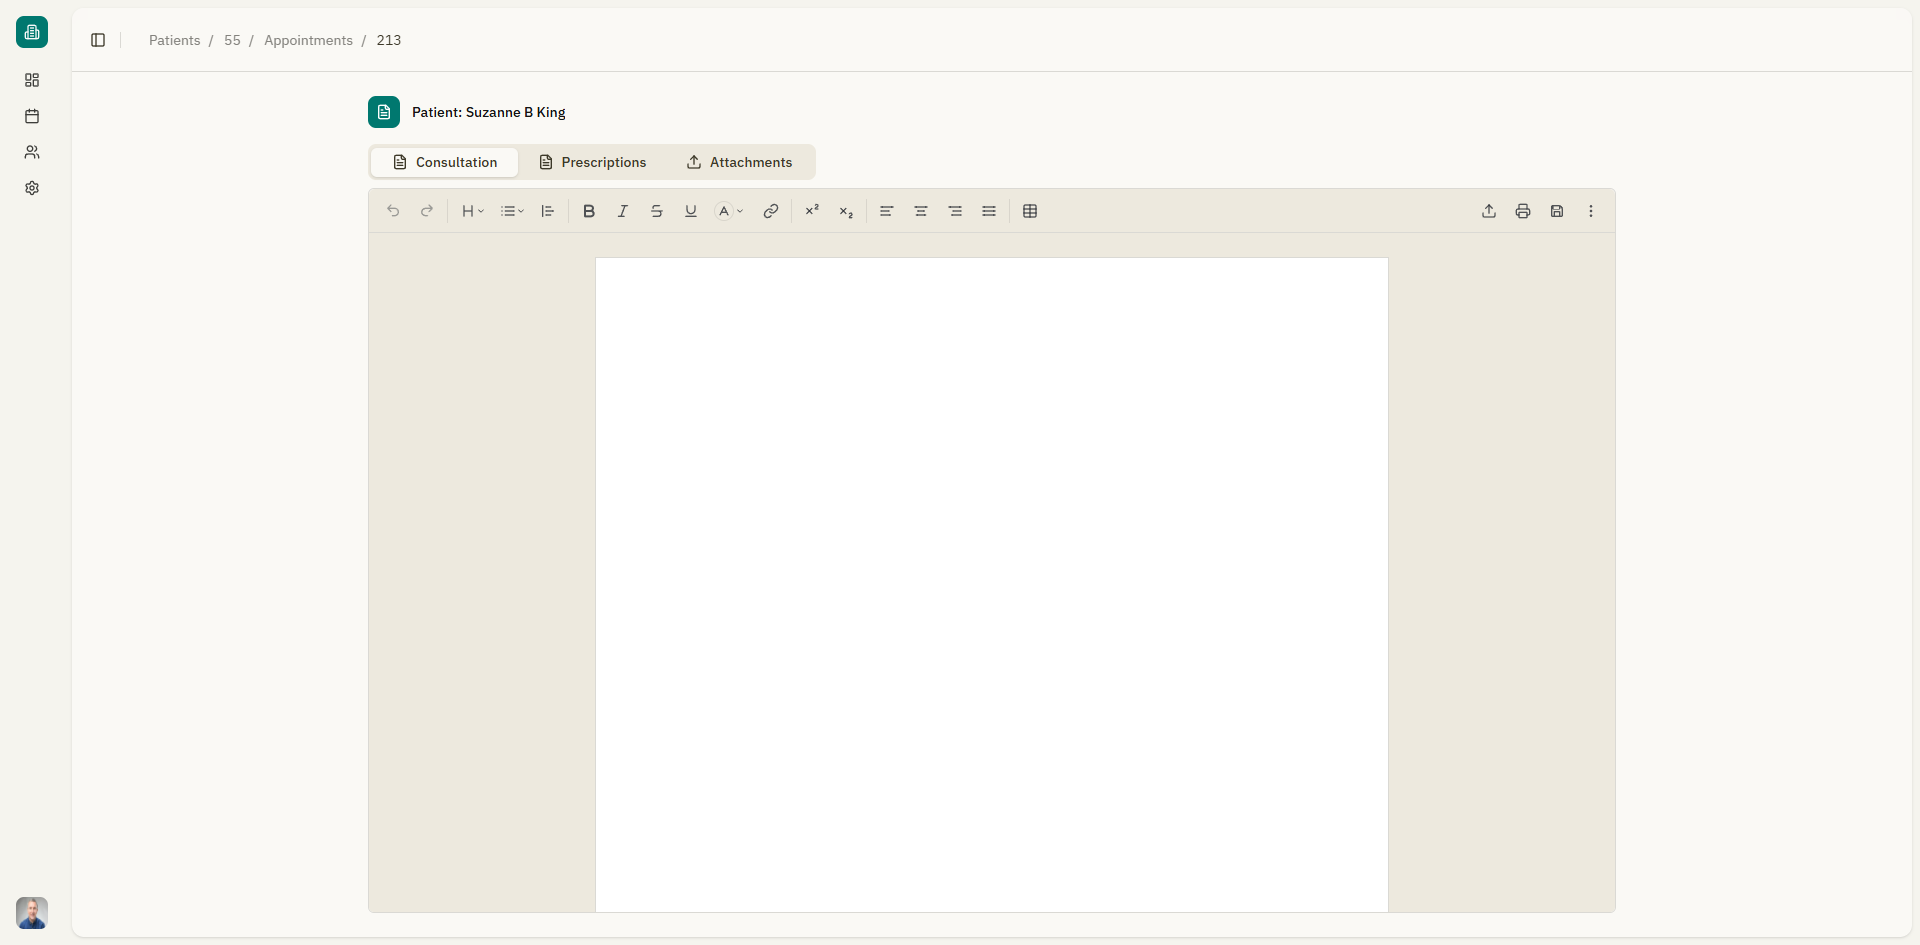
Consultation Editor
When you attend a patient, the Consultation Editor is where you document the visit. It provides a full-featured rich text editor for writing medical notes, examination findings, diagnoses, and treatment plans.
Opening the consultation editor
To access the consultation editor for an appointment:
- Go to the Calendar and click on an appointment, or
- Go to a Patient's details > Appointments tab > click on an appointment.
- The appointment details page opens with three tabs. The "Consultation" tab is selected by default.
Editor toolbar
The editor includes a comprehensive toolbar with the following formatting options:
Text formatting
| Tool | Shortcut | Description |
|---|---|---|
| Bold | Ctrl+B | Make text bold |
| Italic | Ctrl+I | Make text italic |
| Underline | Ctrl+U | Underline text |
| Strikethrough | Cross out text | |
| Code | Inline code formatting | |
| Superscript | Raise text above the baseline | |
| Subscript | Lower text below the baseline |
Block formatting
| Tool | Description |
|---|---|
| Headings | Heading levels 1 through 6 |
| Bullet list | Unordered list with bullets |
| Ordered list | Numbered list |
| Task list | Checklist with toggleable checkboxes |
| Blockquote | Indented quotation block |
| Code block | Multi-line code block |
Additional tools
| Tool | Description |
|---|---|
| Text color | Change the color of selected text |
| Background color | Change the background color of text |
| Highlight | Apply highlight colors to text |
| Alignment | Left, center, right, or justify |
| Link | Insert or edit hyperlinks |
| Image | Upload and insert images |
| Table | Insert and manage tables |
| Reset formatting | Remove all formatting from selected text |
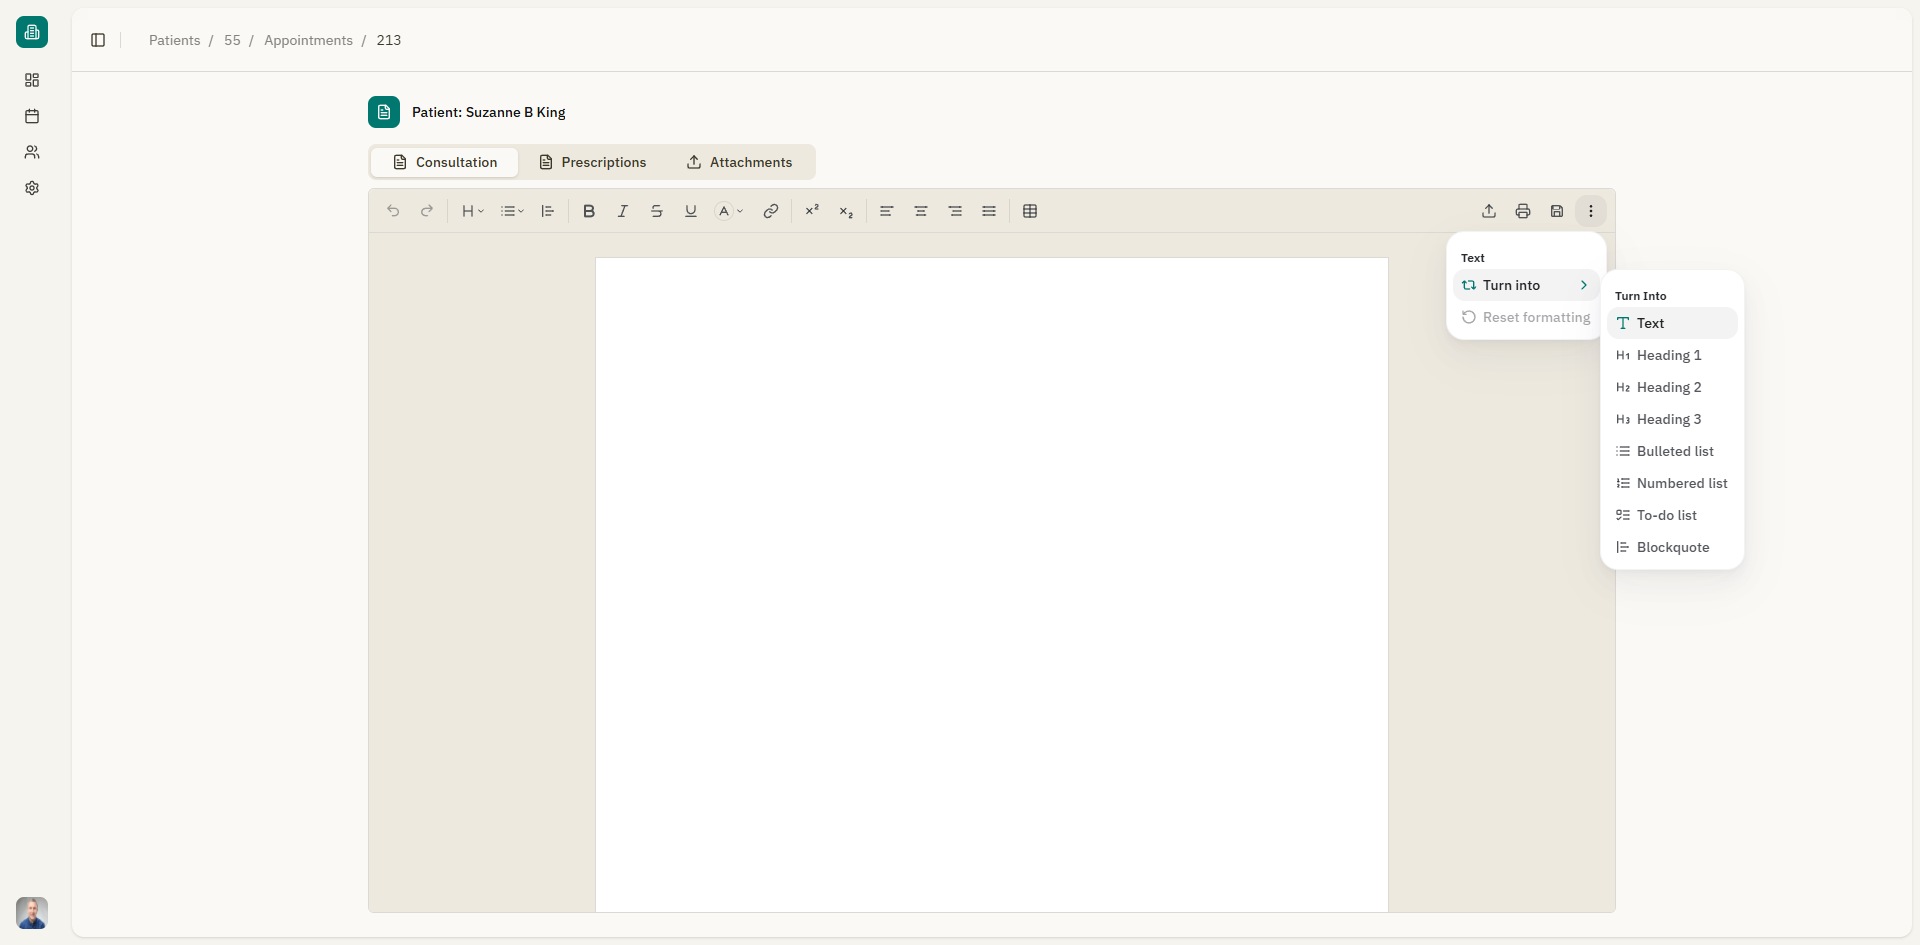
Turn into
The "Turn into" dropdown allows you to convert the current block into a different type:
- Text
- Heading 1, 2, or 3
- Bulleted list
- Numbered list
- To-do list
- Blockquote
- Code block
Working with tables
To insert a table:
- Click the Table button in the toolbar.
- Select the table size from the grid.
- The table is inserted at the cursor position.
Table actions (right-click on a table cell):
| Action | Description |
|---|---|
| Insert row above/below | Add a row |
| Insert column left/right | Add a column |
| Delete row/column | Remove a row or column |
| Move row/column | Move rows or columns up, down, left, or right |
| Sort | Sort row or column A-Z or Z-A |
| Duplicate | Duplicate a row or column |
| Clear contents | Clear the content of a row, column, or the entire table |
| Fit to width | Resize the table to fit the available width |
Importing documents
You can import existing documents into the editor:
- Click the "Import document" button in the toolbar.
- Upload a file in one of the supported formats:
- Word (.docx)
- Excel (.xlsx)
- PowerPoint (.pptx)
- The document content is imported into the editor.
Maximum file size for import is 5 MB.
Saving your work
- Click "Save" to save the consultation content.
- A notification confirms: "Saved successfully".
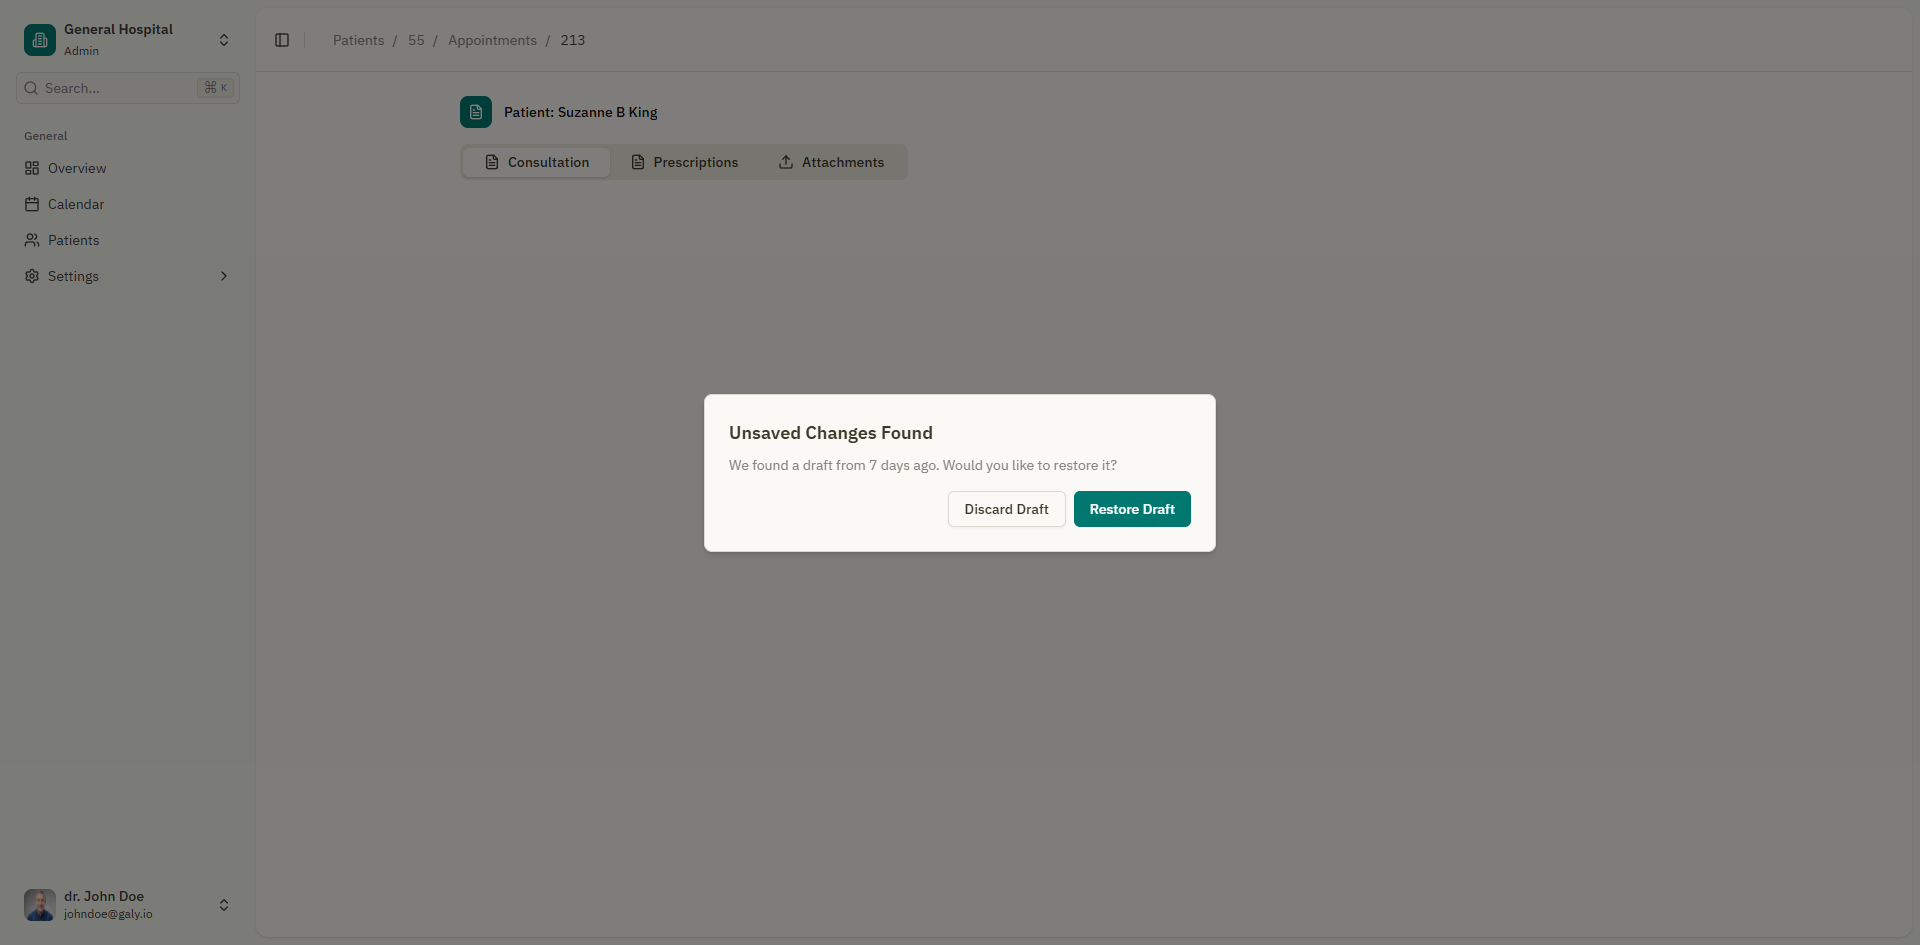
- If you navigate away without saving, a draft recovery dialog may appear the next time you open the consultation, offering to restore or discard the unsaved draft.
Draft recovery
If the editor detects unsaved changes from a previous session:
- A dialog appears: "Unsaved Changes Found"
- It shows when the draft was last saved (e.g., "We found a draft from earlier").
- Choose "Restore Draft" to load the unsaved content, or "Discard Draft" to start fresh.
Exporting to PDF
To print or export your consultation notes:
- Click the "Print to PDF" button in the toolbar.
- The system generates a PDF of the consultation content.
- A notification confirms: "PDF generated successfully".
- The PDF downloads to your device.
Mobile editing
On mobile devices, the editor adapts to a simplified interface:
- Click "Edit" or "Open Editor" to enter editing mode.
- Click "Done" or "Stop editing" to exit editing mode.
- Use the "Back" button to return to the previous screen.
- Click "Save" to save your changes.
Appointment information
At the top of the consultation page, you'll see:
- "Medical Appointment" title
- Patient name with a link to the patient's profile
- Status indicator (Active, Saving..., or Error)
Next steps
- Manage prescriptions for this appointment
- Attach files to the appointment